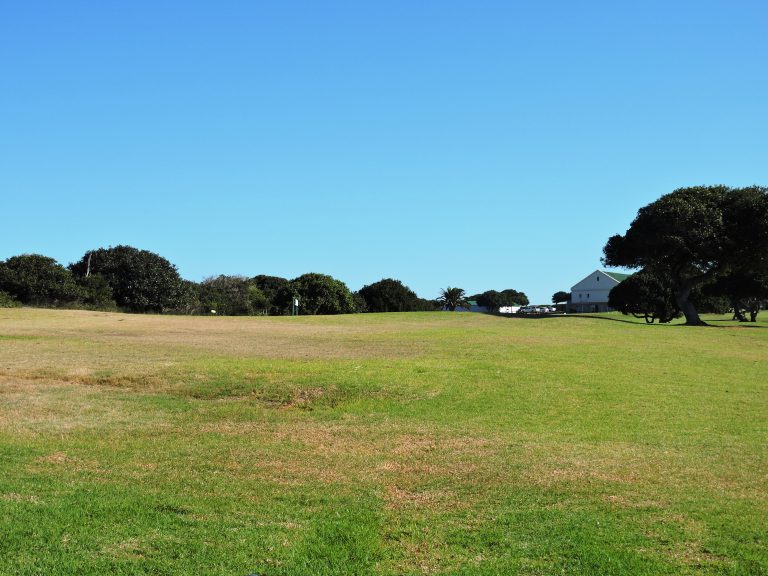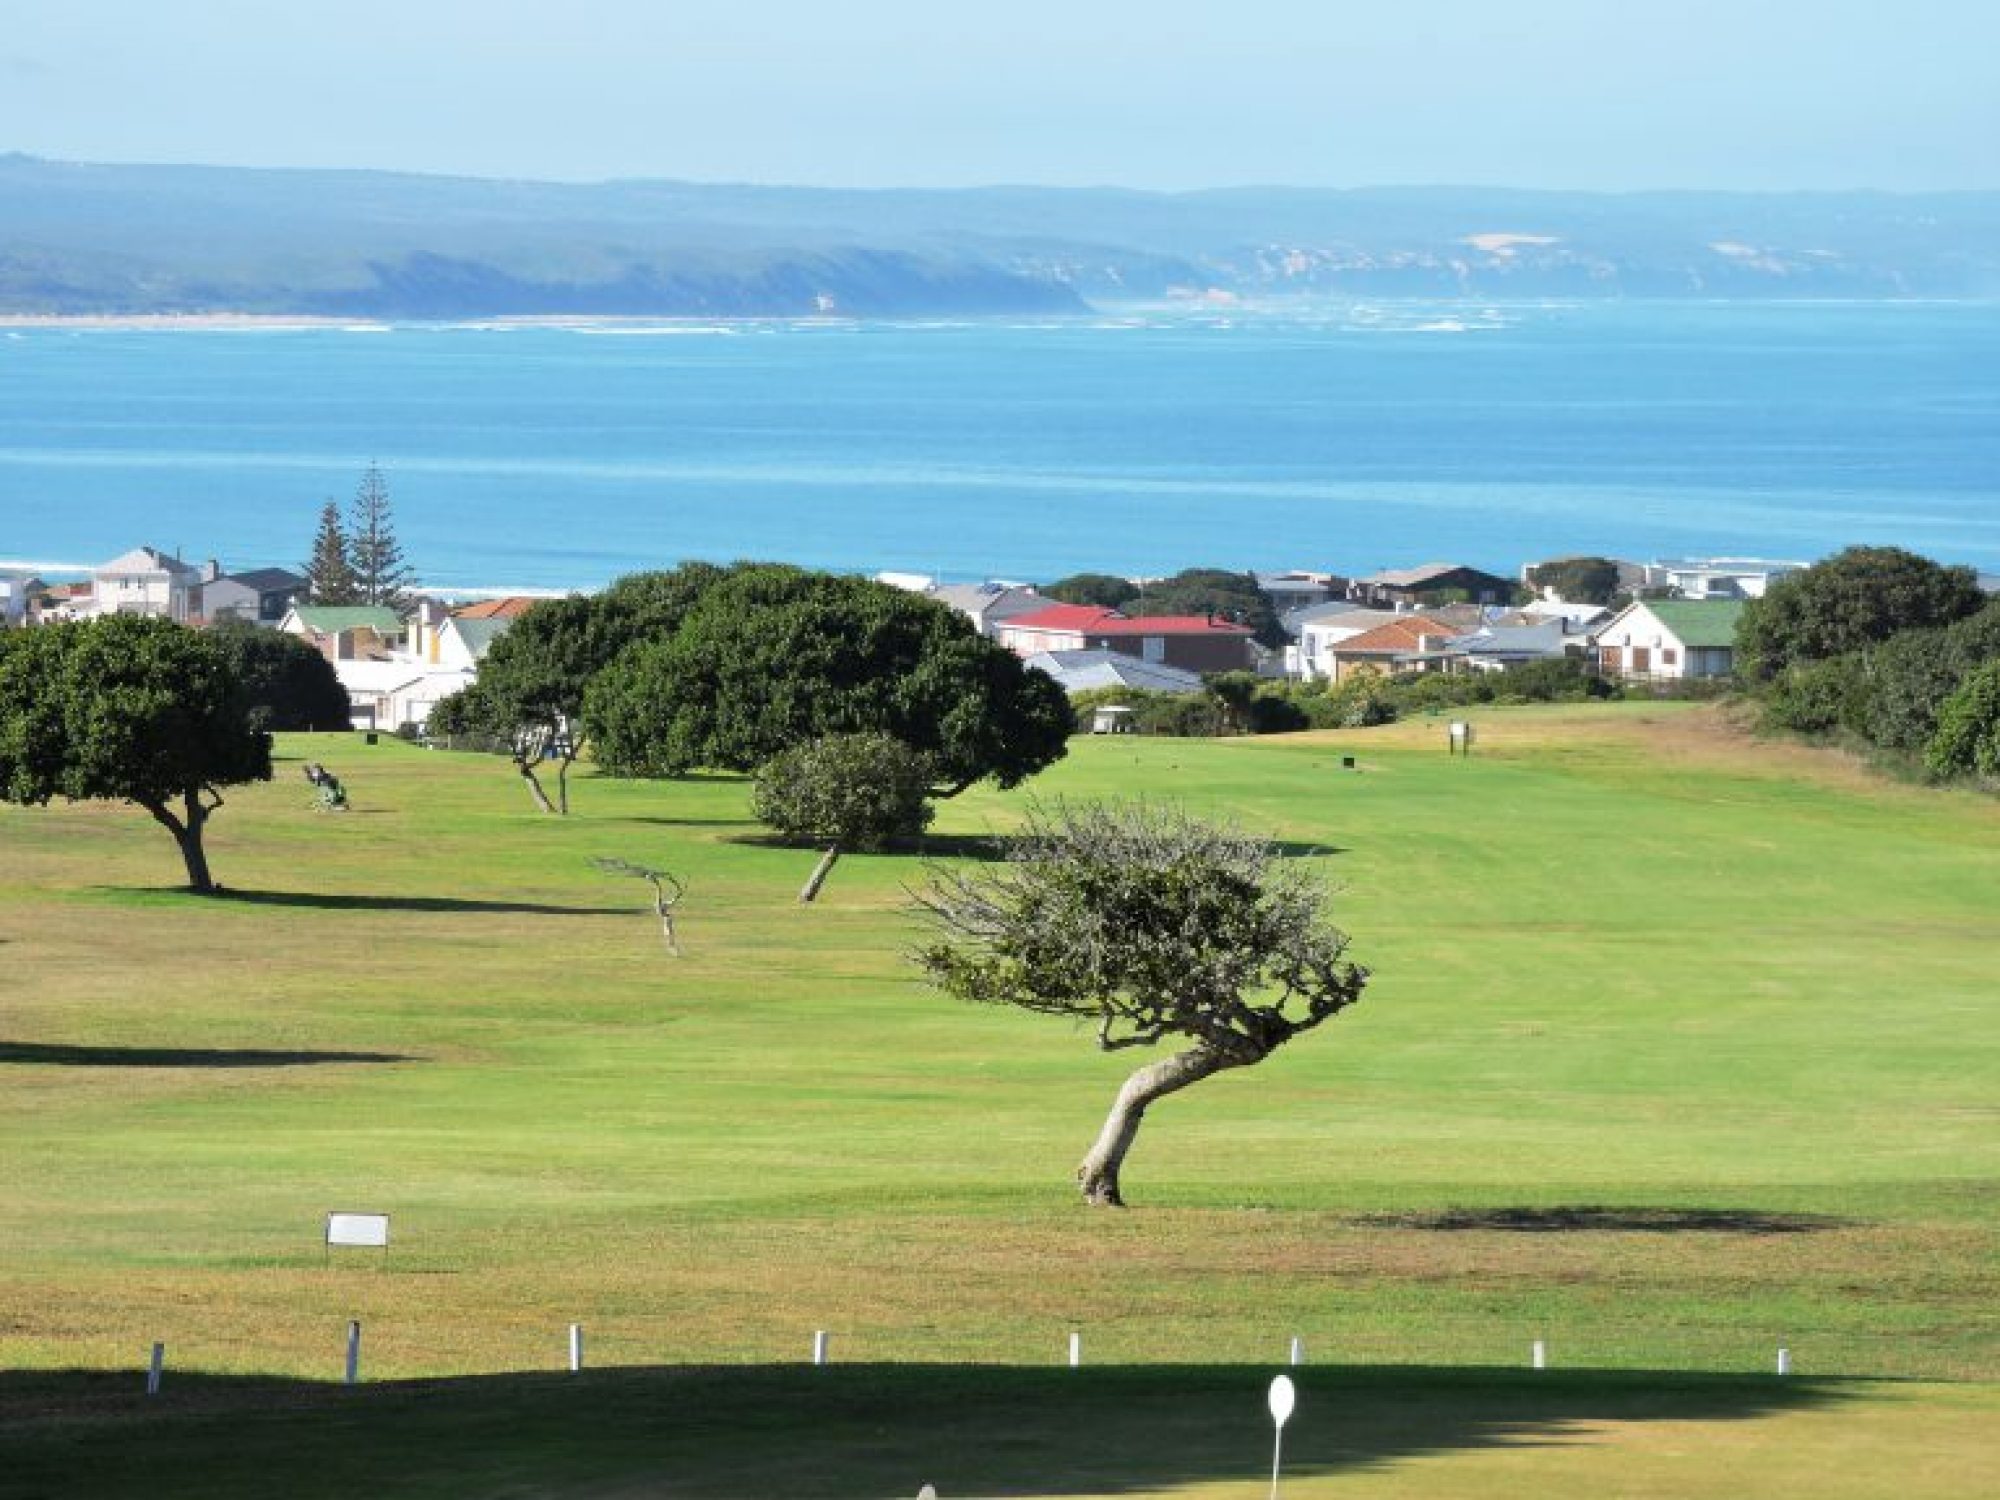
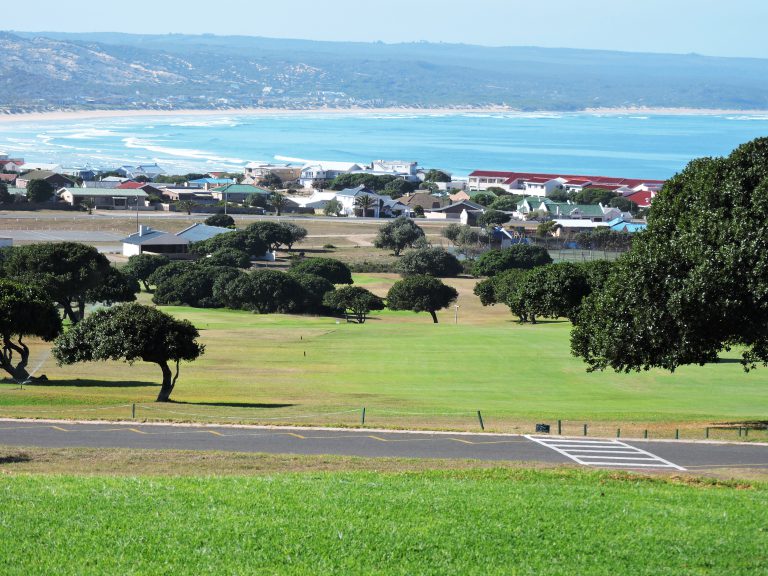
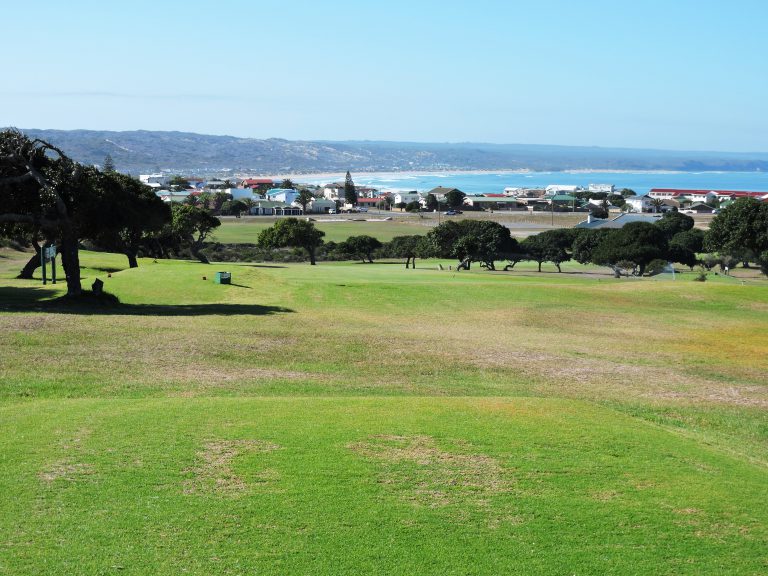
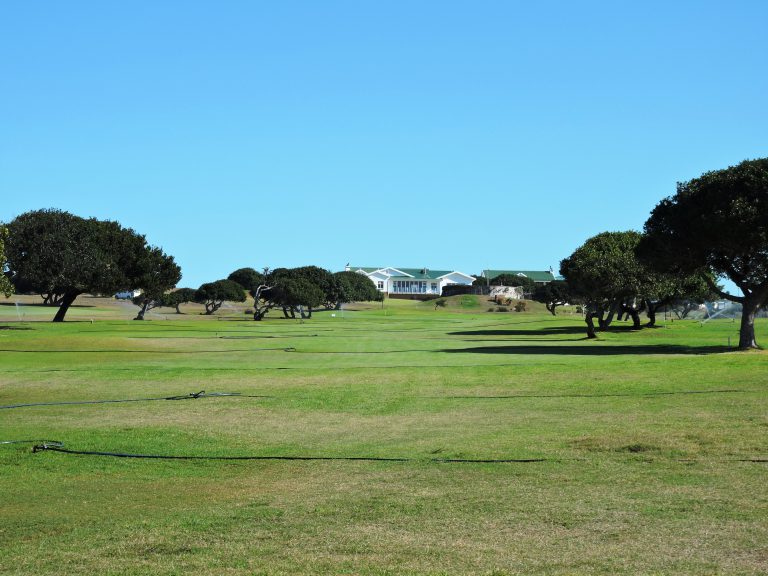
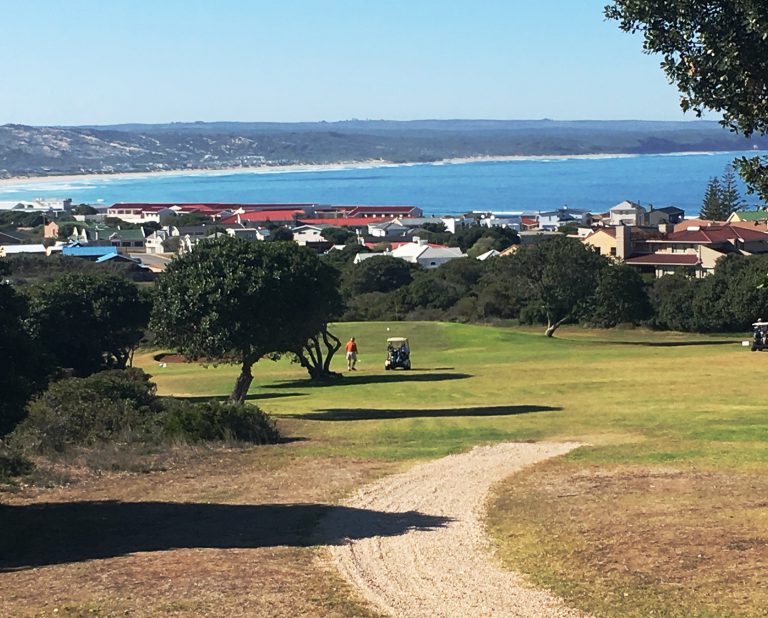
The Stilbaai Golf Course is a beautiful Par 72, 9 hole course with cynodon greens.
Course Ratings
Men
White Tee Rating 70.2/122 (5620 m) Red Tee Rating 66.7/110 (4929 m)
Ladies
White Tee Rating 76.2/136 (5620 m) Red Tee Rating 72.0/127 (4929m )

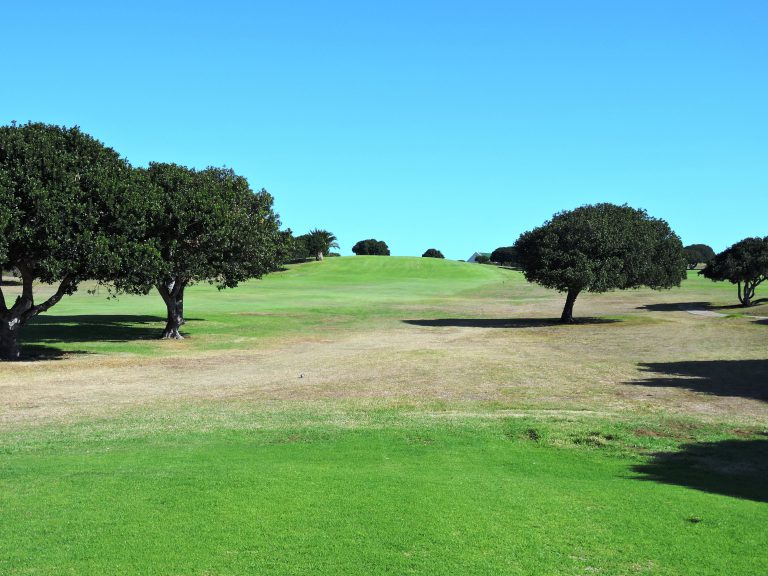
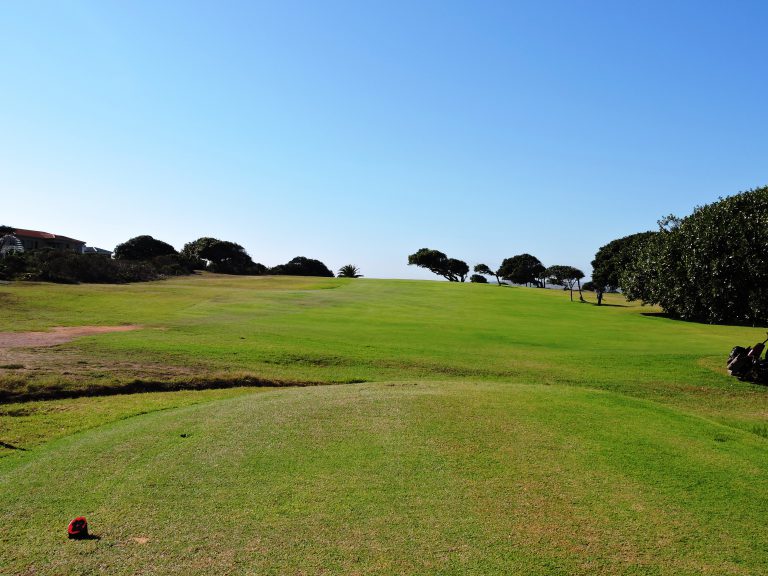
Hole 1
This hole is fairly short but can catch out the long hitters with thick coastal bush all down the left hand side and within driving range on the right hand side. Ending up behind some trees with your drive can make the approach shot to the green fairly difficult.
Par 4 – White 291m– Stroke 9 Red 256m– Stroke 9

Hole 2
This is the first Par 3 with a lot of bush in front of the tee and a bunker protecting the right hand front of the green, this hole requires a nice lofted shot to reach the green
Par 3 – White 134m– Stroke 17 Red 126m– Stroke 17

Hole 3
This fairly easy Par 5 has a blind second shot over some trees and you can find yourself in thick bush if you hook or fade your shot, the distance for your third shot can be deceptive with it been slightly downhill to the green.
Par 5 – White 441m– Stroke 13 Red 359m– Stroke 13

Hole 4
This Par 4 is a straight, picturesque hole down the hill to a large green protected by a large bunker on the left hand side, generally if you pitch the green your ball will roll off the back onto the second cut.
Par 4 – White 380m– Stroke 7 Red 380m– Stroke 3
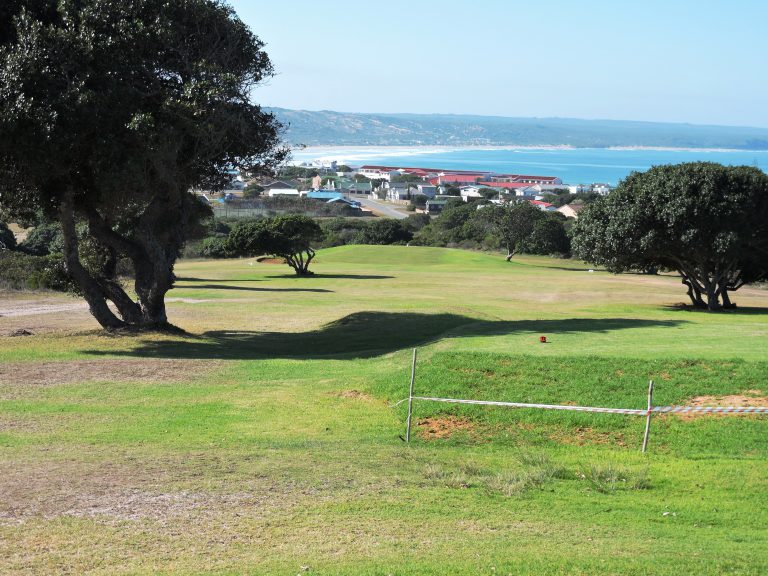
Hole 5
Don’t be fooled by the simple look of this hole, it is protected by trees on the left and right hand side on your drive and the uphill nature of this hole calls for a longer club than expected with you second shot, this is also the only green on this course with two tiers.
Par 4 – White 306m– Stroke 5 Red 265m– Stroke 5

Hole 6
This hole has a dogleg to the right and has a lot of thick trees that have to be negotiated on your way to the green, a bogey on this hole can be considered a good score.
Par 4 – White 383m– Stroke 1 Red 335m– Stroke 1
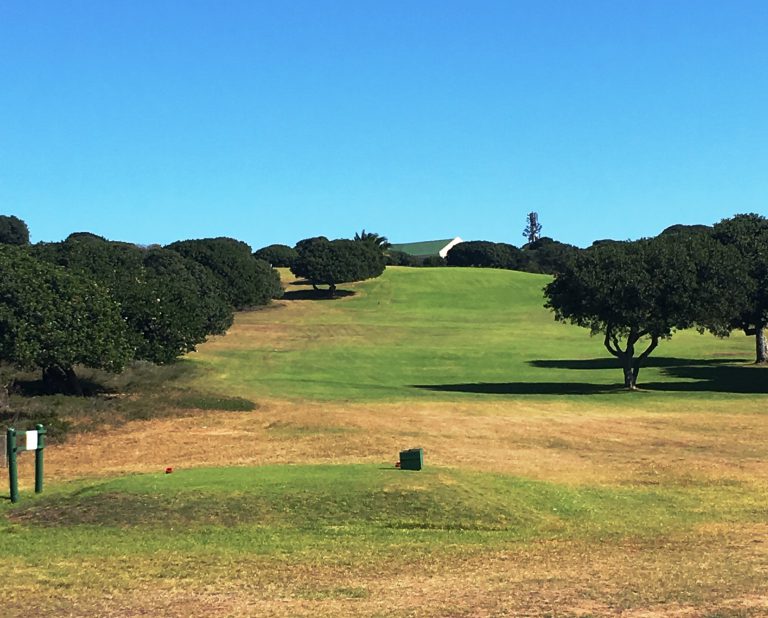
Hole 7
This tricky uphill Par 5 calls for an accurate tee shot between some trees and then a blind second shot over a hill in the fairway with your third to a green at the top of the hill. The hole is protected by thick coastal bush all the way up on the left hand side to just short of the green.
Par 5 – White 355m– Stroke 15 Red 338m– Stroke 15
Hole 8
This is the longest Par 3 on the course and requires a fairly accurate tee shot to keep you out of trouble
Par 3 – White 173m- Stroke 11 Red 154m– Stroke 7
Hole 9
Although this is a fairly short Par 4 it is one of the hardest holes on the course due to its uphill nature and danger on the left and right of the fairway, the green is protected in front and on the left by a two deep bunkers, a confident second shot is required to land on this green.
Par 4 – White 328 – Stroke 3 Red 236 – Stroke 11

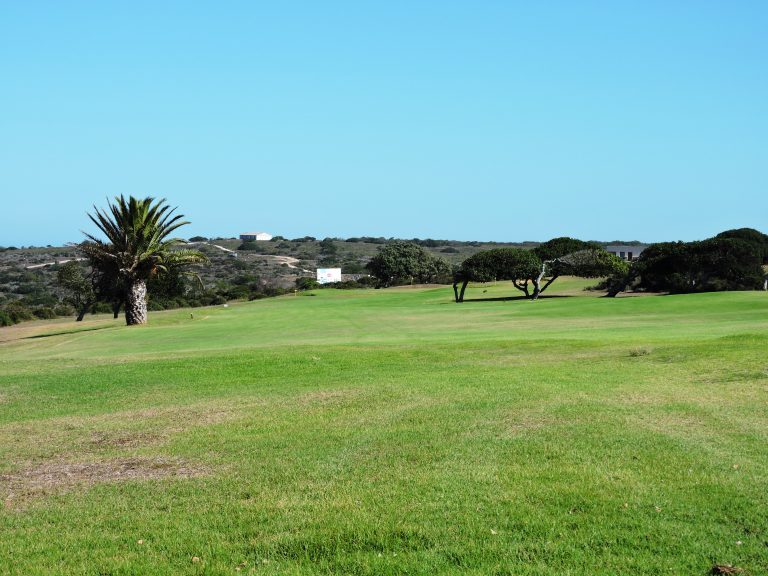
Hole 10
Your tee shot on this hole is blind and you have a small Aloe on the crest of the incline and a big Palm tree on the left to assist with your direction, your second shot forces you to negotiate some trees on the fairway and three bunkers protecting the green.
Par 4 – White 340m– Stroke 2 Red 283m– Stroke 8
Hole 11
This Par 3 has a very tight tee shot protected on both sides by bush and two trees but after that the fairway continues to widen all the way up to the green
Par 3 – White 151m– Stroke 12 Red 134m– Stroke 12
Hole 12
If you go left on this hole with your tee shot you will find yourself in a lot of trouble, the fairway is protected by a number of trees but once these obstacles have been cleared your second shot to the green is open.
Par 4 – White 348m– Stroke 4 Red 348m– Stroke 2
Hole 13
Besides the two trees protecting the fairway when you drive the rest of the hole is fairly open and only requires a fairly easy second shot to the green.
Par 4 – White 369m– Stroke 16 Red 358m– Stroke 6

Hole 14
Once again a deceptive uphill hole that requires you full concentration to be able to reach the green in two and then a difficult putt depending on the position of the flag on the top or bottom tier.
Par 4 – White 306m– Stroke 6 Red 265m– Stroke 4
Hole 15
This Dogleg Par 5 is a lot more difficult than what the stroke would suggest and requires some clever decision making to be able to par this hole.
Par 5 – White 444m– Stroke 10 Red 367m– Stroke 10
Hole 16
Nowhere on this Par 5 do you want to pull your shot left as this will put you in big trouble, once you have cleared the fairway trees with your drive this is a nice uphill par five as long as you keep your ball on the fairway.
Par 5 – White 406m– Stroke 14 Red 365m– Stroke 14
Hole 17
The green on this very pretty downhill par three is very accessible as long as you avoid the bunker protecting the green on the front left hand side.
Par 3 – White 160m– Stroke 18 Red 144m– Stroke 18
Hole 18
The last hole on the course is a nice uphill hole back towards the Clubhouse with a nice wide fairway and as long as you don’t pull your drive left you should be able to reach this green in two, the elevated green helps to stop your ball when you pitch on the green.
Par 4 – White 307m– Stroke 8 Red 221m– Stroke 16